If your shade was manufactured before 2019, please click here for proper adjustment steps.
NOTE: If you are not sure when the shade was manufactured, you can check the manufacturer’s sticker at the top of the shade to find the date.
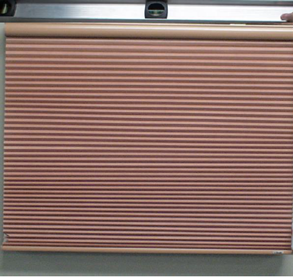
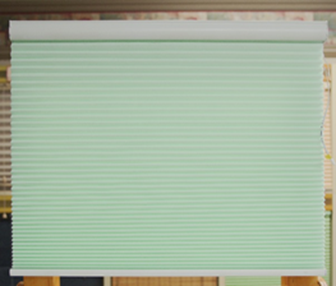
If your cellular or pleated shade is hanging crooked and manufactured after 2019, follow the instruction below to fix your shade.
- Make sure everything is level by using a carpenter’s level to check the brackets, window, and mounting surface. It is very common for windows to become slightly uneven over time.
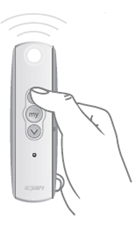
- With the remote that currently controls the shade, select the channel, if applicable, using the button at the bottom of the remote until the correct channel light is flashing.
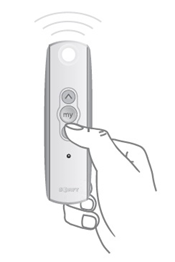
- Press and release the DOWN button on the controller and let the shade stop at the lower limit.
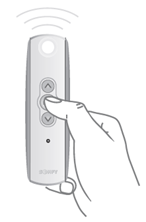
- Once the shade stops, hold both the UP and DOWN buttons together until the shade does a jog (short up/down motion).
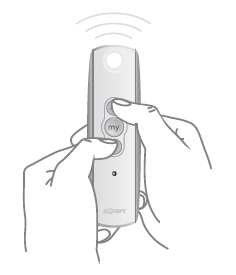
- Holding the DOWN button, move the shade past its lower limit until the shade starts to rise back up.
NOTE: If the bottom rail rests on a windowsill, it will be necessary to pull it away from the window so that the bottom rail can move freely.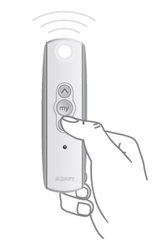
- Press and HOLD the UP button to bring the shade back to its normal lower limit. Once the shade reaches the correct position, hold the “MY” (STOP) button until the shade jogs.
- Fully lower the shade before removing either endcap from the bottom rail.
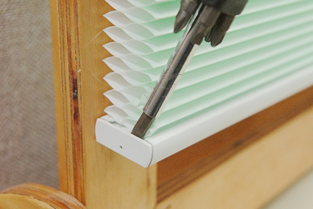
- Slide out the aluminum slat from inside the bottom rail.
NOTE: Placing a piece of tape on the end of the aluminum slat makes it easier to slide.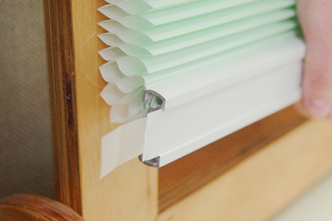
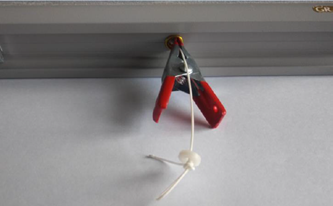
- Locate cord on the side of the shade needs to be corrected. While holding onto the cord, push up on the bottom rail securing cord with a Spring Clamp (see Tools Needed).
- Shades with Cinch Button: Mark the cord with a pen to indicate the new location for cinch button.
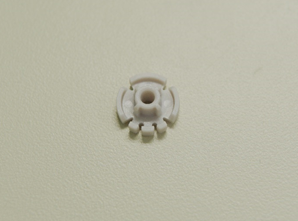
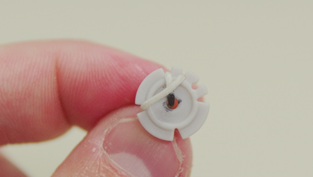
- Thread the cord through hole of cinch button as shown.
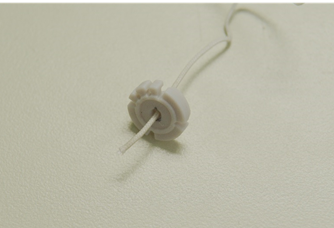
- Wrap the cord up through top left finger opening, back down, and through bottom left finger opening.
- Wrap the cord up through second top finger opening, down back through, then through the bottom right finger opening.
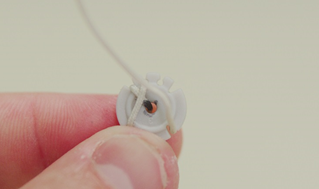
- Wrap the cord up and through top right finger opening, around backside, ending with the cord coming out of the third top finger opening.
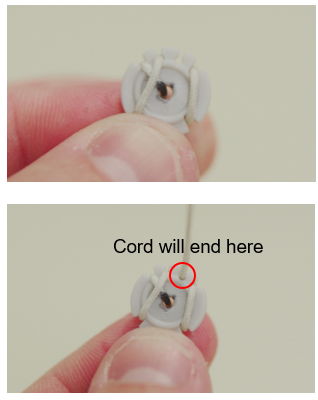
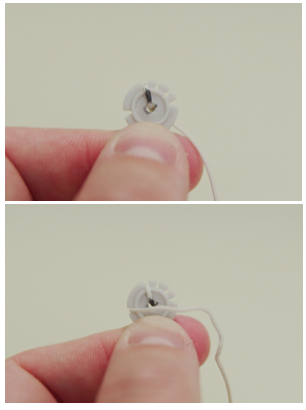
- Snap the cinch button back into the bottom rail.
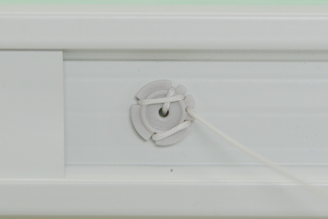
- Test the shade by raising and lowering it fully a few times. Readjust the cord as needed if it is still uneven.
- Once the shade is level, replace the aluminum slat and endcap.
NOTE: Placing a piece of tape on the end of the slat makes it easier to slide back in.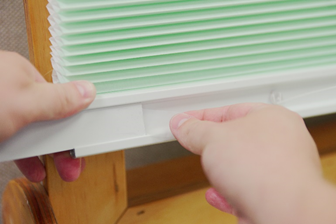
For additional support:
Email: motorization.support@springswindowfashions.com, responses could take up to 24 hours
Customer Service Team: 1-800-221-6352
Was this article helpful?
That’s Great!
Thank you for your feedback
Sorry! We couldn't be helpful
Thank you for your feedback
Feedback sent
We appreciate your effort and will try to fix the article